Course
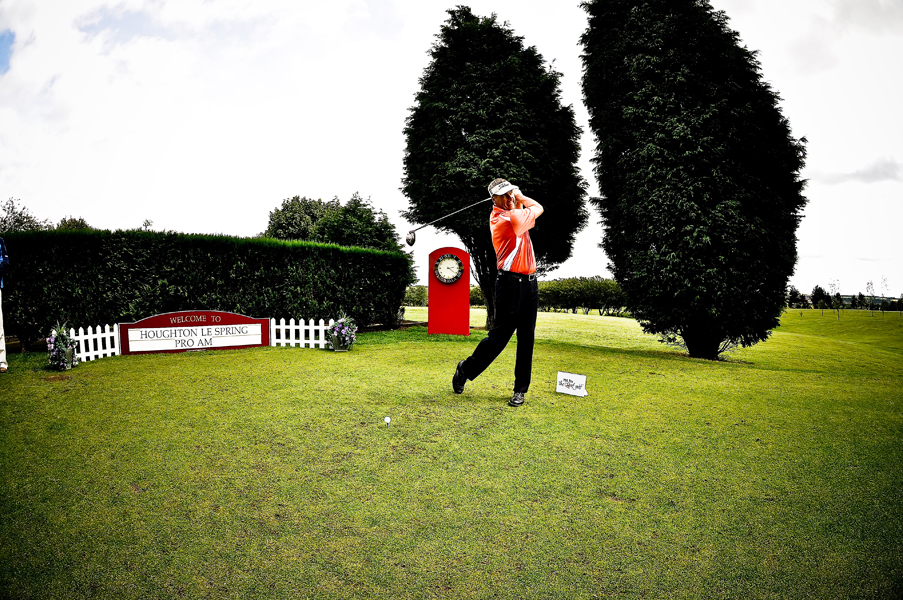
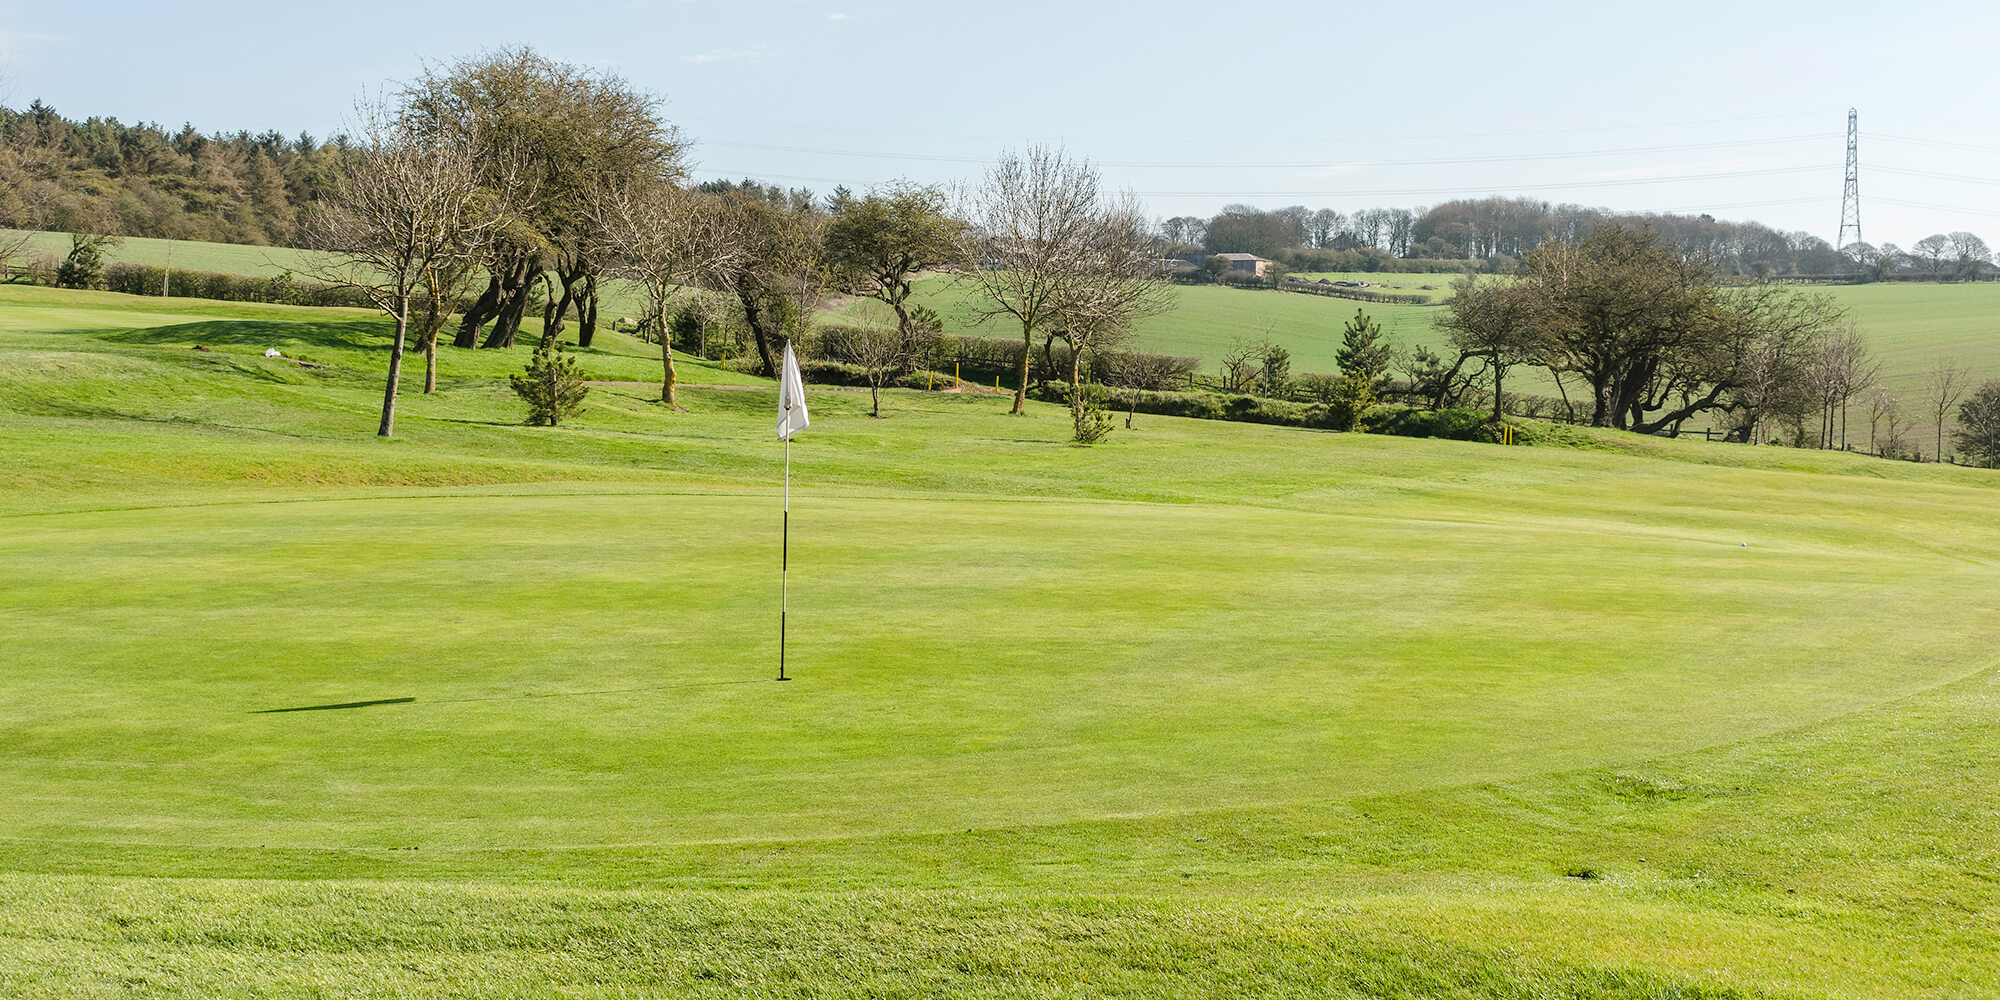
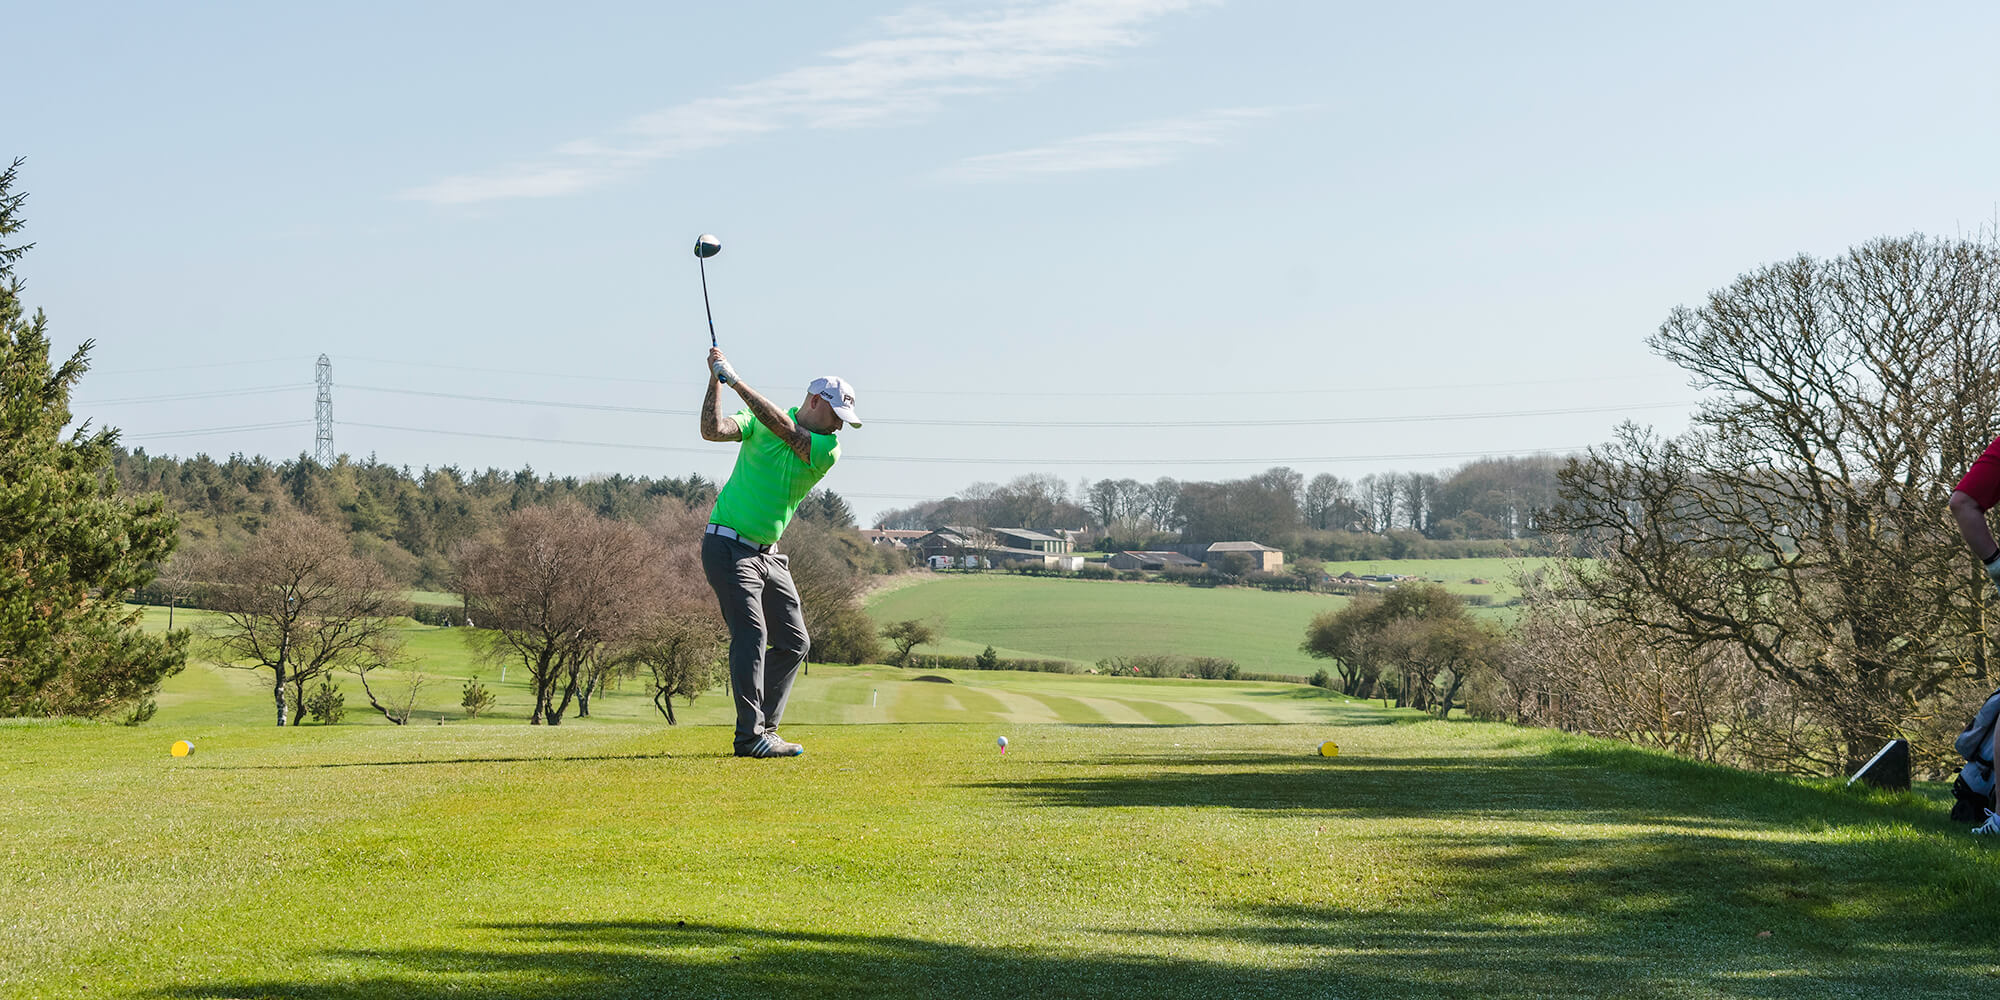
Established in 1908 Houghton-le-Spring Golf Club has terrific views and challenging play for golfers at every skill level. Well-groomed fairways and greens, with all flags sponsored by Bedebrooke, keep play difficult yet friendly and the green staff can offer tips and advice for playing your best round. The golf club is an ideal choice for your regular rounds of golf or a new destination for you and friends when visiting the area.Hole-by-hole


Pro's tip

Your drive should be aimed at the marker post, fading slightly to open up the green for your second.
HOLE SPONSORED BY: EPPLETON QUARRY

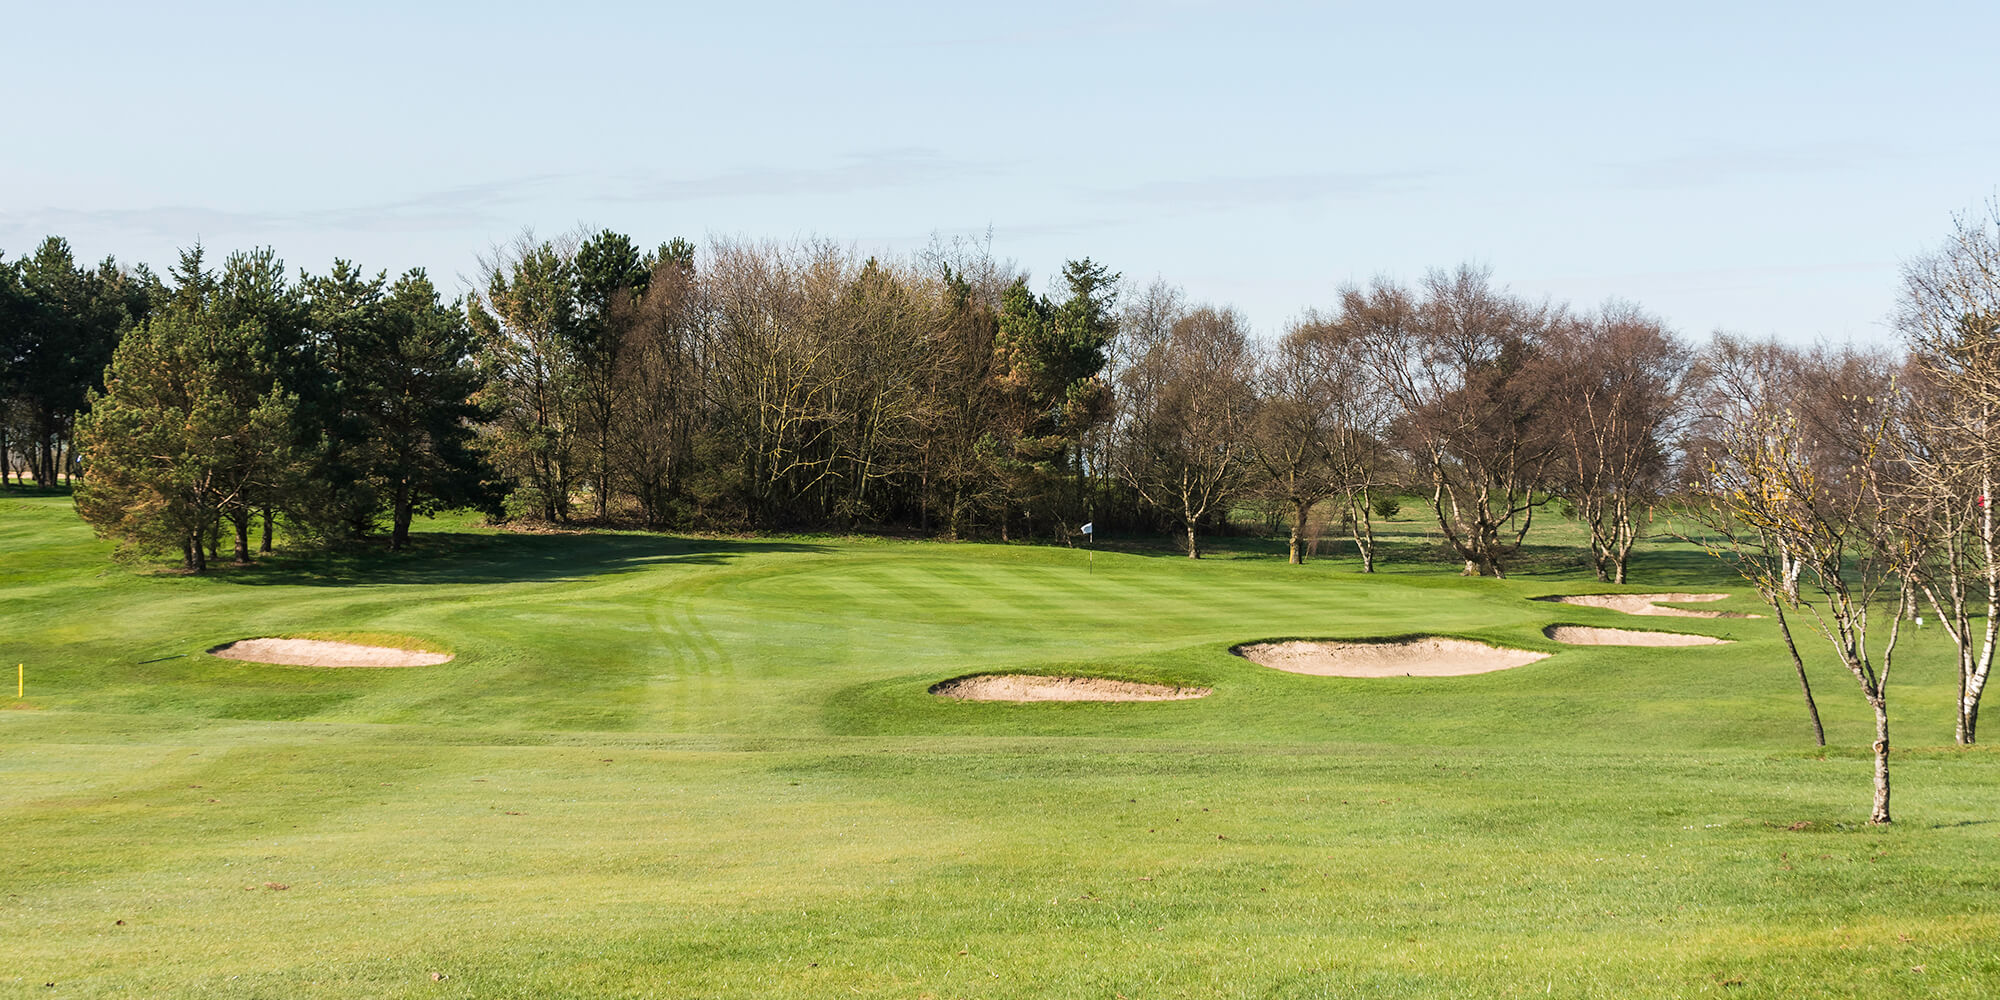
Hole 2
Hole Description
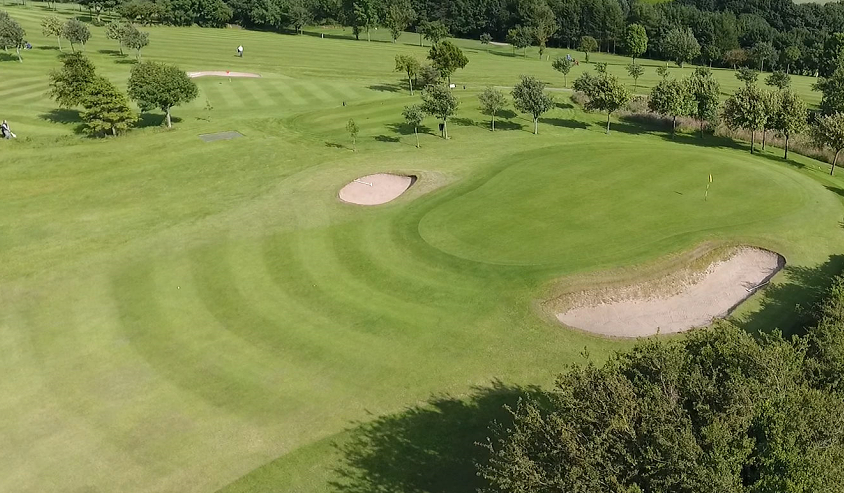
The 2nd is a dog leg right. Once again there is out of bounds all down the right, but if you are too safe off the tee a bunker up the left will catch you out. The green is well protected with bunkers left and right.
Pro's tip
A fairway wood, again at the marker post, is all that is needed to see your ball kick down into the middle of the fairway leaving you a short iron into a none too receptive green.
HOLE SPONSORSHIP AVAILABLE
Pro's tip
One more club than usual is recommended because hitting uphill you need to avoid the sand traps in front of the green.
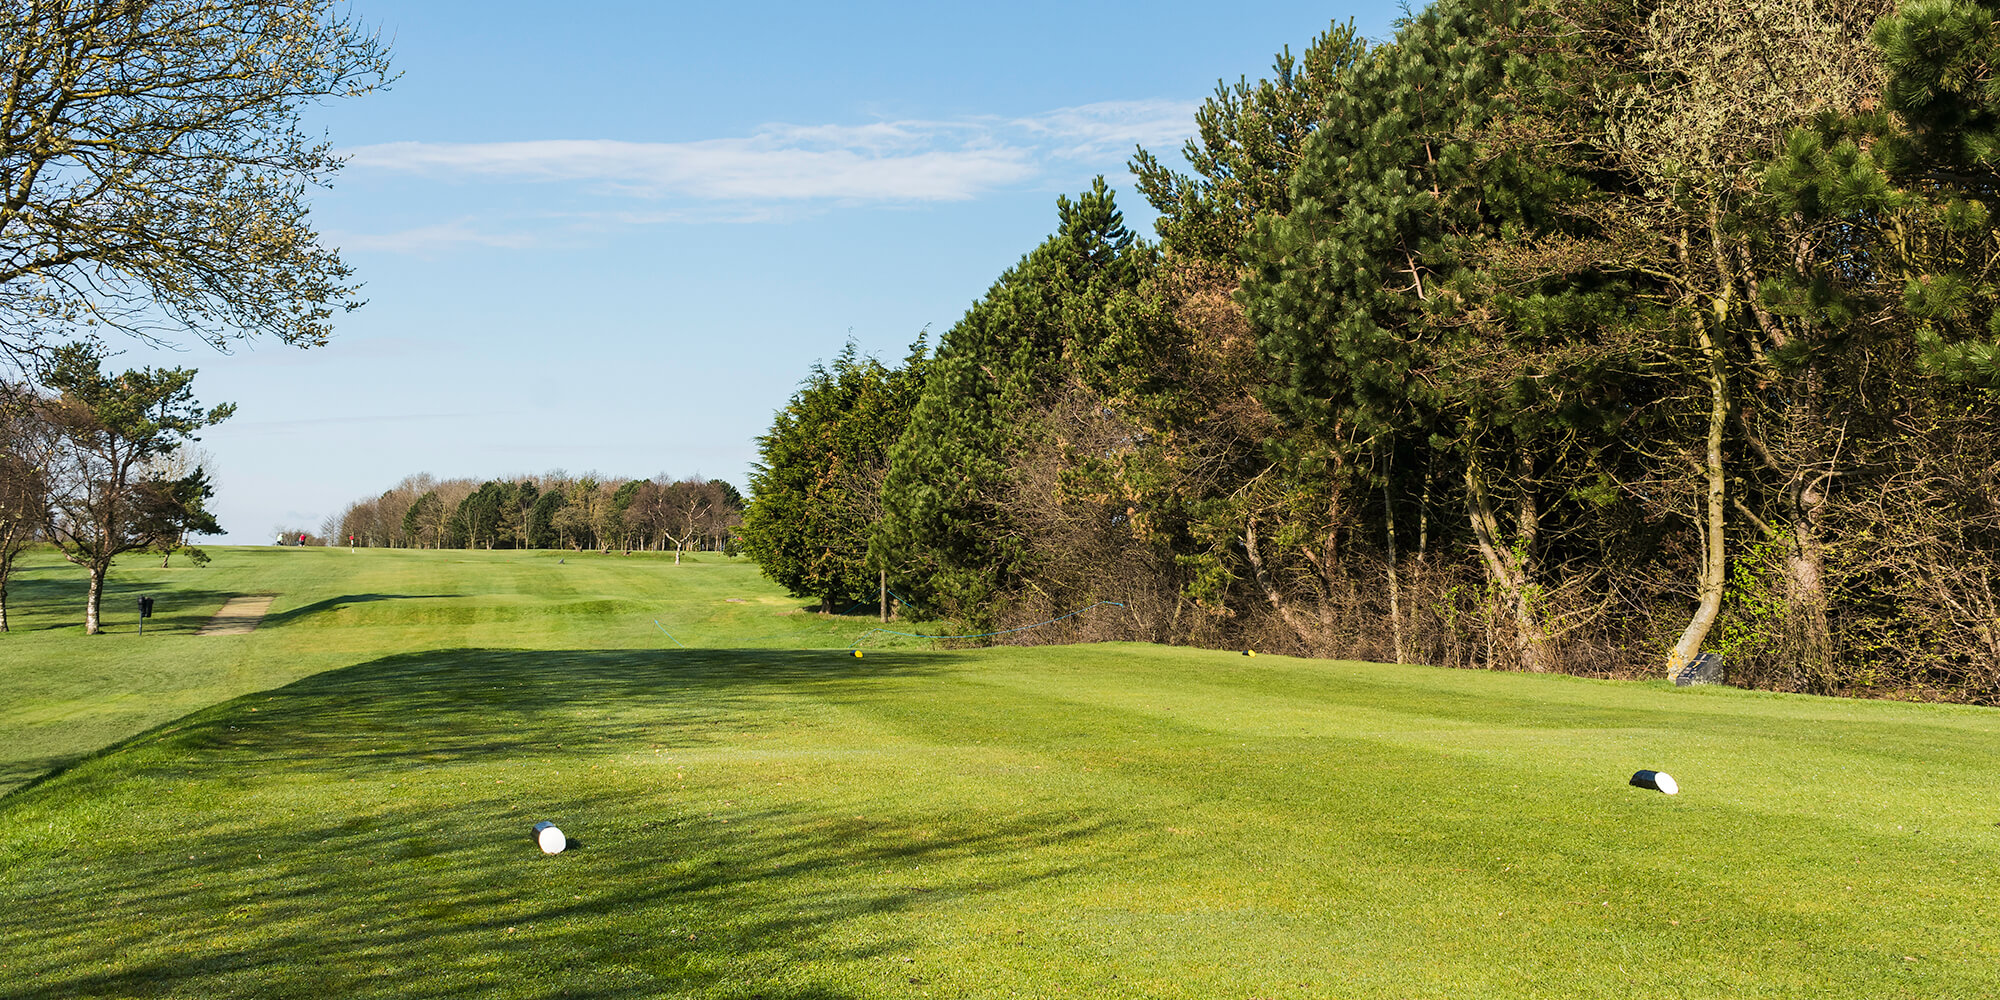
Hole 4
Hole Description
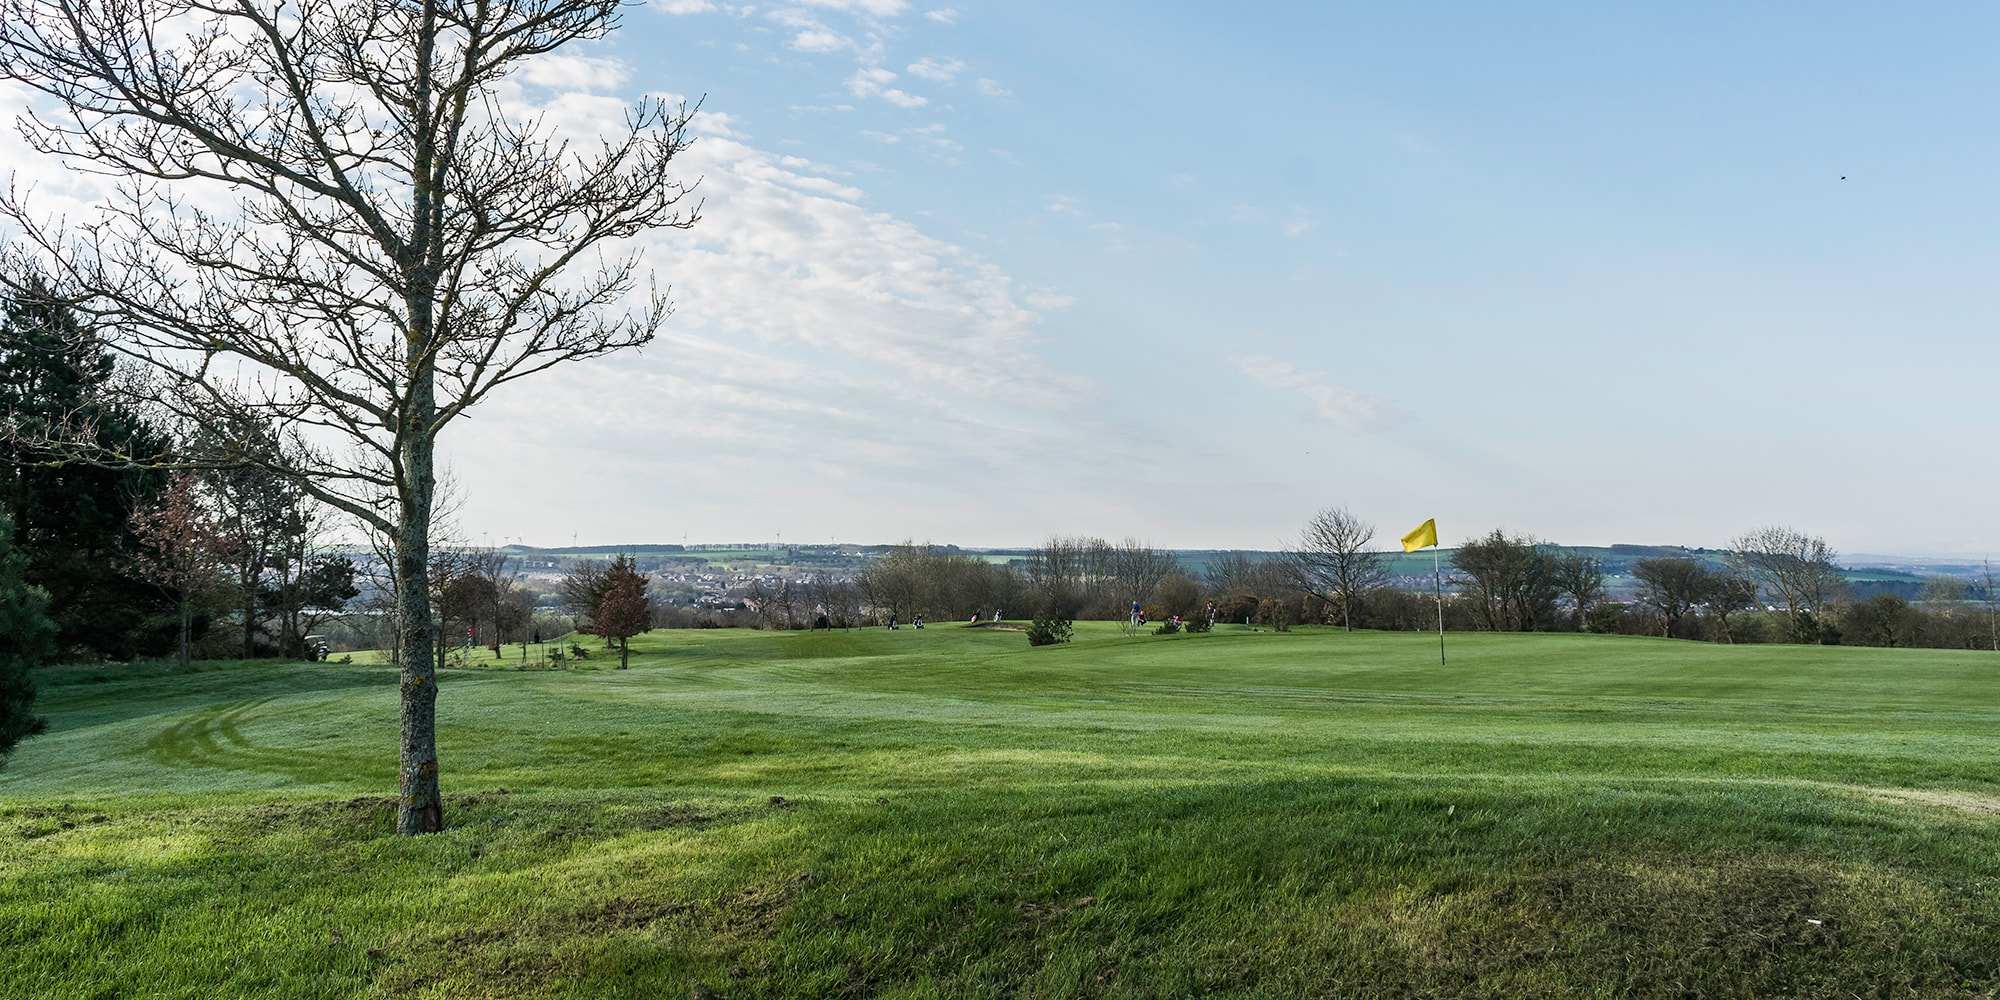
The 4th is a long par 4. A blind tee shot over the brow of the hill with trees to the right. Longer hitters should be aware of the ditch adjacent to the first tee. A large green awaits your 2nd shot, there are no bunkers but the green has a big drop to the back and right.
Pro's tip
Both drive and second shot will tend to kick left to right. Faced with a long second you may be able to run it in using the contours, particularly on the left side of the green.
HOLE SPONSORED BY: PARTNERS &
Pro's tip
Don’t miss the fairway to the left, only the very lucky or expert can hit the green from there. Rather aim your tee shot down the left side of the fairway looking for a favourable kick right to the middle. Indeed any drive that finishes short of the trees dividing the fifth and sixth fairways will do as it leaves a second shot back up the slope through a narrow entrance to the green.
HOLE SPONSORSHIP AVAILABLE
Hole 6
Hole Description
Danger off the tee both left and right, hit a good tee shot and leave yourself a shot into another well protected green. The longer hitters should be aware of the bunkers in front of the green and the water feature in the gully to the left, you could reach them. Another undulating green, with some tricky pin positions to once again test your putting skills.
Pro's tip
Big hitters have to decide whether they have a short game to match their length off the tee. If not an iron will ensure a full second shot into a receptive green sloping back to front.
HOLE SPONSORED BY: ASTLEY SIGNS
Hole 7
Hole Description
Our stroke index 1 hole is a long par 4. You need to be straight off the tee as trouble lurks if you are wayward. There are trees and thick rough awaiting any errant shots. The bunker to the front left of the green comes into play as the fairway takes the ball left.
A sloping green from right to left will test your nerve.
Pro's tip
A straight drive over the marker post favouring the right side of the fairway will make the green a more visible target. Aim your second shot at the right half of the green as the bounce will take it left.
HOLE SPONSORSHIP AVAILABLE
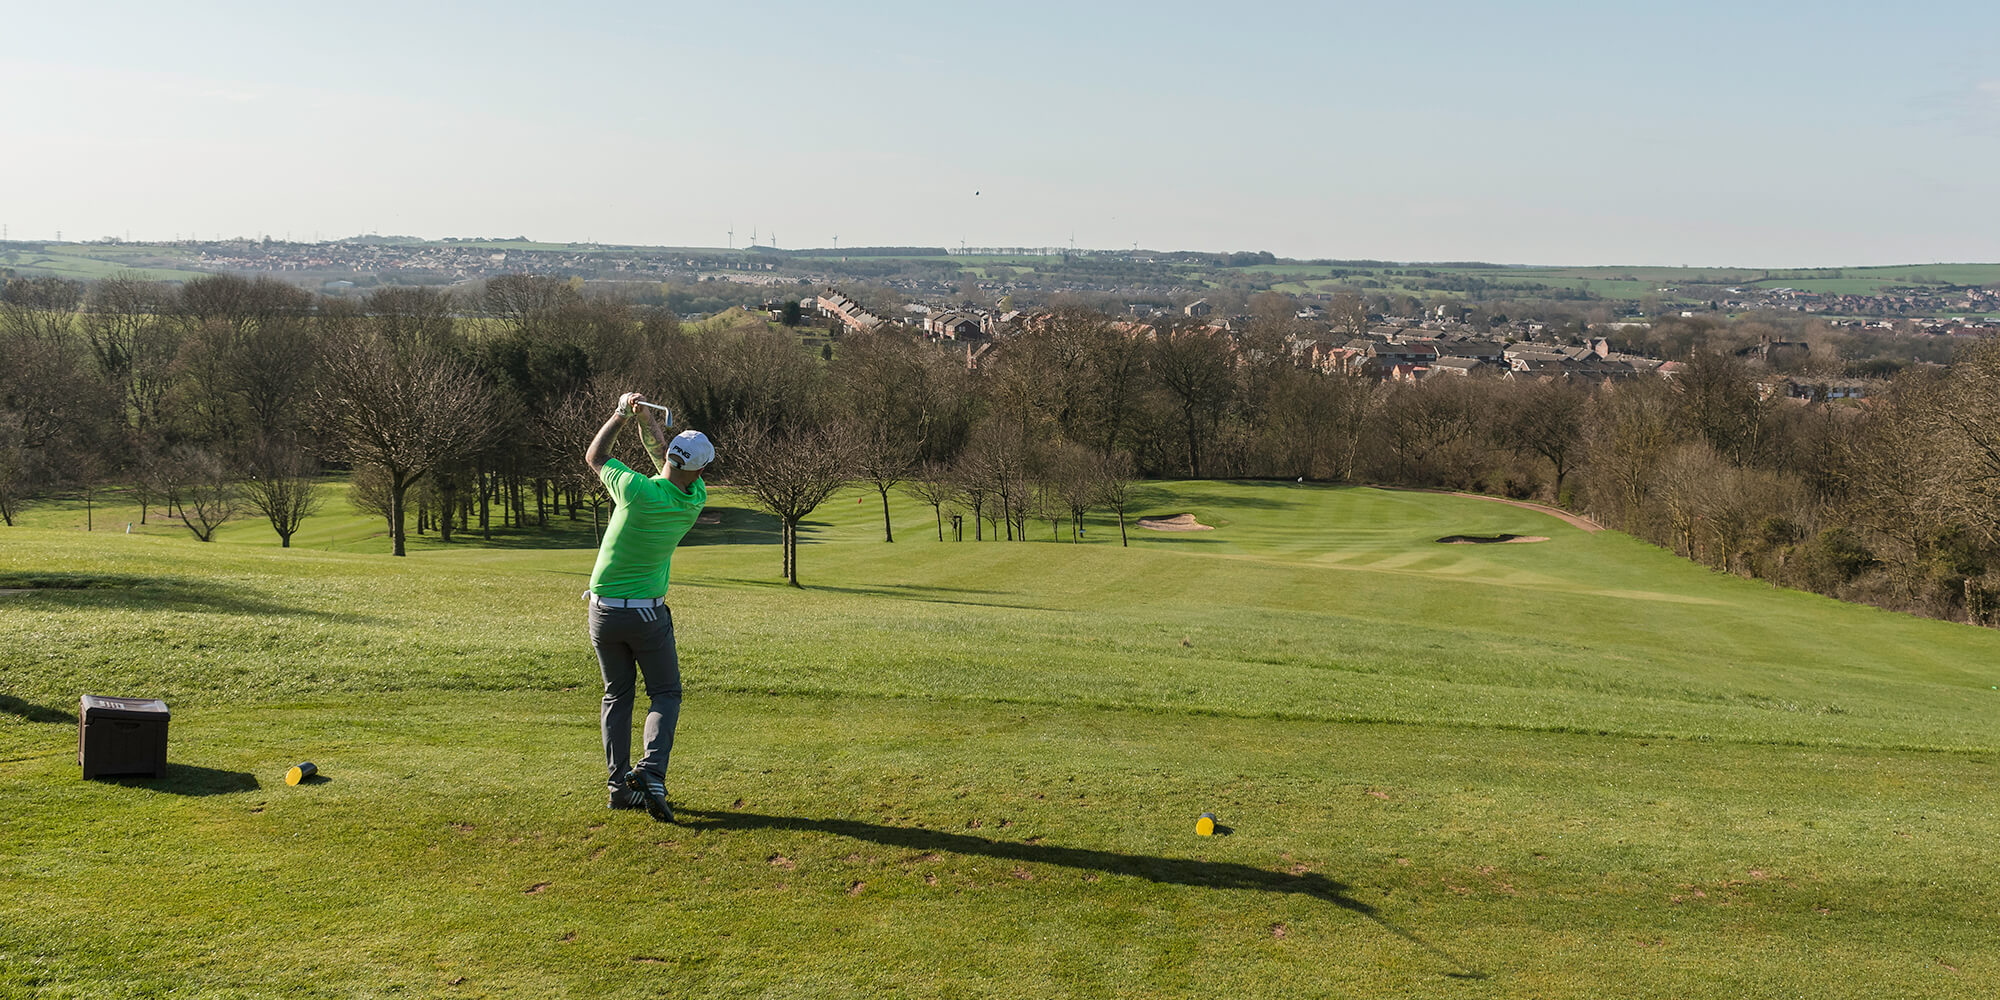
Pro's tip
Taking one club less on account of the steep descent to the green is one way of ensuring a committed tee shot that is more likely to be on line. There’s no disgrace in a shot that pitches short and runs onto the green of this most difficult Par 3.
HOLE SPONSORED BY: NEXT ECO
Hole 9
Hole Description
The first par 5. Lateral Water Hazard all the way down the right and 3 ditches to contend with. As with the 2nd any over cautious tee shots will be caught out by the 3 fairway bunkers up the left. Big hitters beware that the 2nd ditch may come into play off the tee.
Try putting yourself in position off the tee so that you can lay up with your 2nd, watch out for the bunker on the 2nd part of the fairway.
Your approach to the green has to be played with care as there is a ditch runs across the fairway and a large bunker to the left will catch any pulled shots.
Pro's tip
This is not a long hole for a Par 5. Therefore all but the longest hitters should concentrate on a solid drive up the left, a medium to long iron for the second and a short iron into the green-three consecutive, consistent blows and a guaranteed Par every time.
HOLE SPONSORED BY: BLOOMING RUBIE
Hole 10
Hole Description
A very difficult tee shot. Trees to the left and Lateral Water Hazard all up the right, the fairway also slopes to the right. Another good tee shot will allow you to lay up with your 2nd. The approach to the green is one of the more testing on the course. The ditch across the fairway is a problem, but there is more danger in the way of 3 deep bunkers right in front of the green.
Get onto the green and have an interesting putt–no more to be said, IT WILL BE WORTH THE WAIT.
Pro's tip
Like the 9th, the 10th has a lateral water hazard right and a ditch protecting the green. So the advice for all but the big boys is two consistent blows favouring the left of the fairway followed by a committed short iron and a chance of a birdie on a tricky green.
Hole 11
Hole Description
A good tee shot to the top of the hill will open up the green. A little ditch to the left of the fairway will catch a lot of people out.
Big hitters can reach the green in one–please take care. The green is protected by two bunkers either side of the green.
Pro's tip
By all means pull out the big stick if you are confident and sneaky long, but the safe shot is a long iron to the top of the fairway avoiding the ditches either side leaving you with a nice wedge shot into the green.
HOLE SPONSORSHIP AVAILABLE
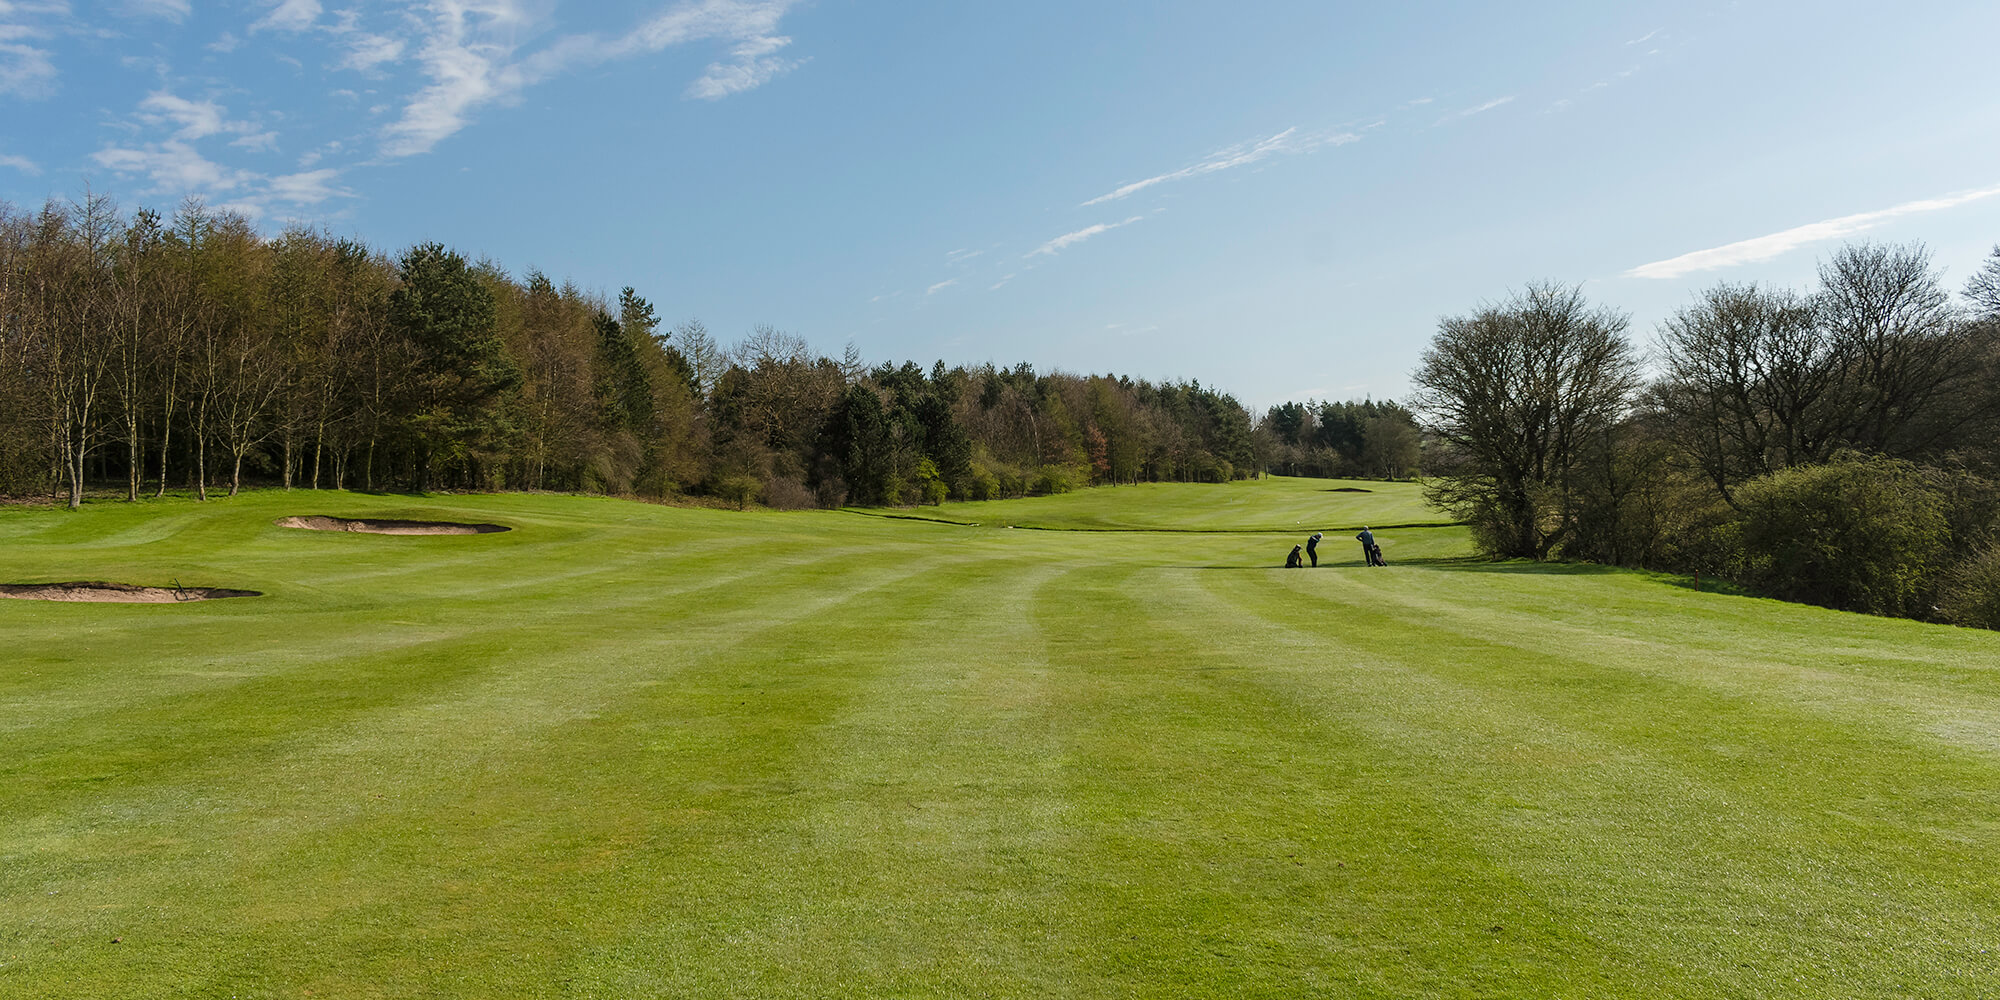
Hole 12
Hole Description
A tee shot to around the 150 marker is ideal, it will leave you a nice shot into the 2 tier green. Too long off the tee and you will be in the ravine which has a ditch at the bottom and if you miss that you will have a blind shot up the steep hill.
Pro's tip
A fairway wood is all that is needed off the tee to lay up at the top of the hill. For that second shot be sure to take enough club, particularly if the flag is at the back of the two tier green and the prevailing west wind is in your face.
HOLE SPONSORSHIP AVAILABLE
Hole 13
Hole Description
The only hole with out of bounds to the LEFT. A good tee shot will put you in position to play your 2nd around the dog leg left and down towards the green, but don’t cut too much off the corner as you will be out of bounds. Your 3rd should be a downhill shot into a fairly level green that is protected by one bunker to the front left.
Pro's tip
Not many courses have such a steep fairway as Houghton has down to the 13th green. For that third shot into the green make sure to have your weight on the front foot so that your shoulders are on the same plane as the slope and you should avoid the dreaded duff and be safely on the green.
HOLE SPONSORSHIP AVAILABLE
Hole 14
Hole Description
An uphill dog leg right. The out of bounds on 13 doesn’t come into play on this hole but the trees on the right may well do.
A Tricky approach into the green as the ball will invariably be below your feet.
Bunker front right and a fairly level looking green, will it catch you out?
Pro's tip
Not much more to be said about playing the hole except that this is definitely a green where if you are below the hole your chances of holing a putt are much improved.
HOLE SPONSORED BY: DURHAM ABRASIVES
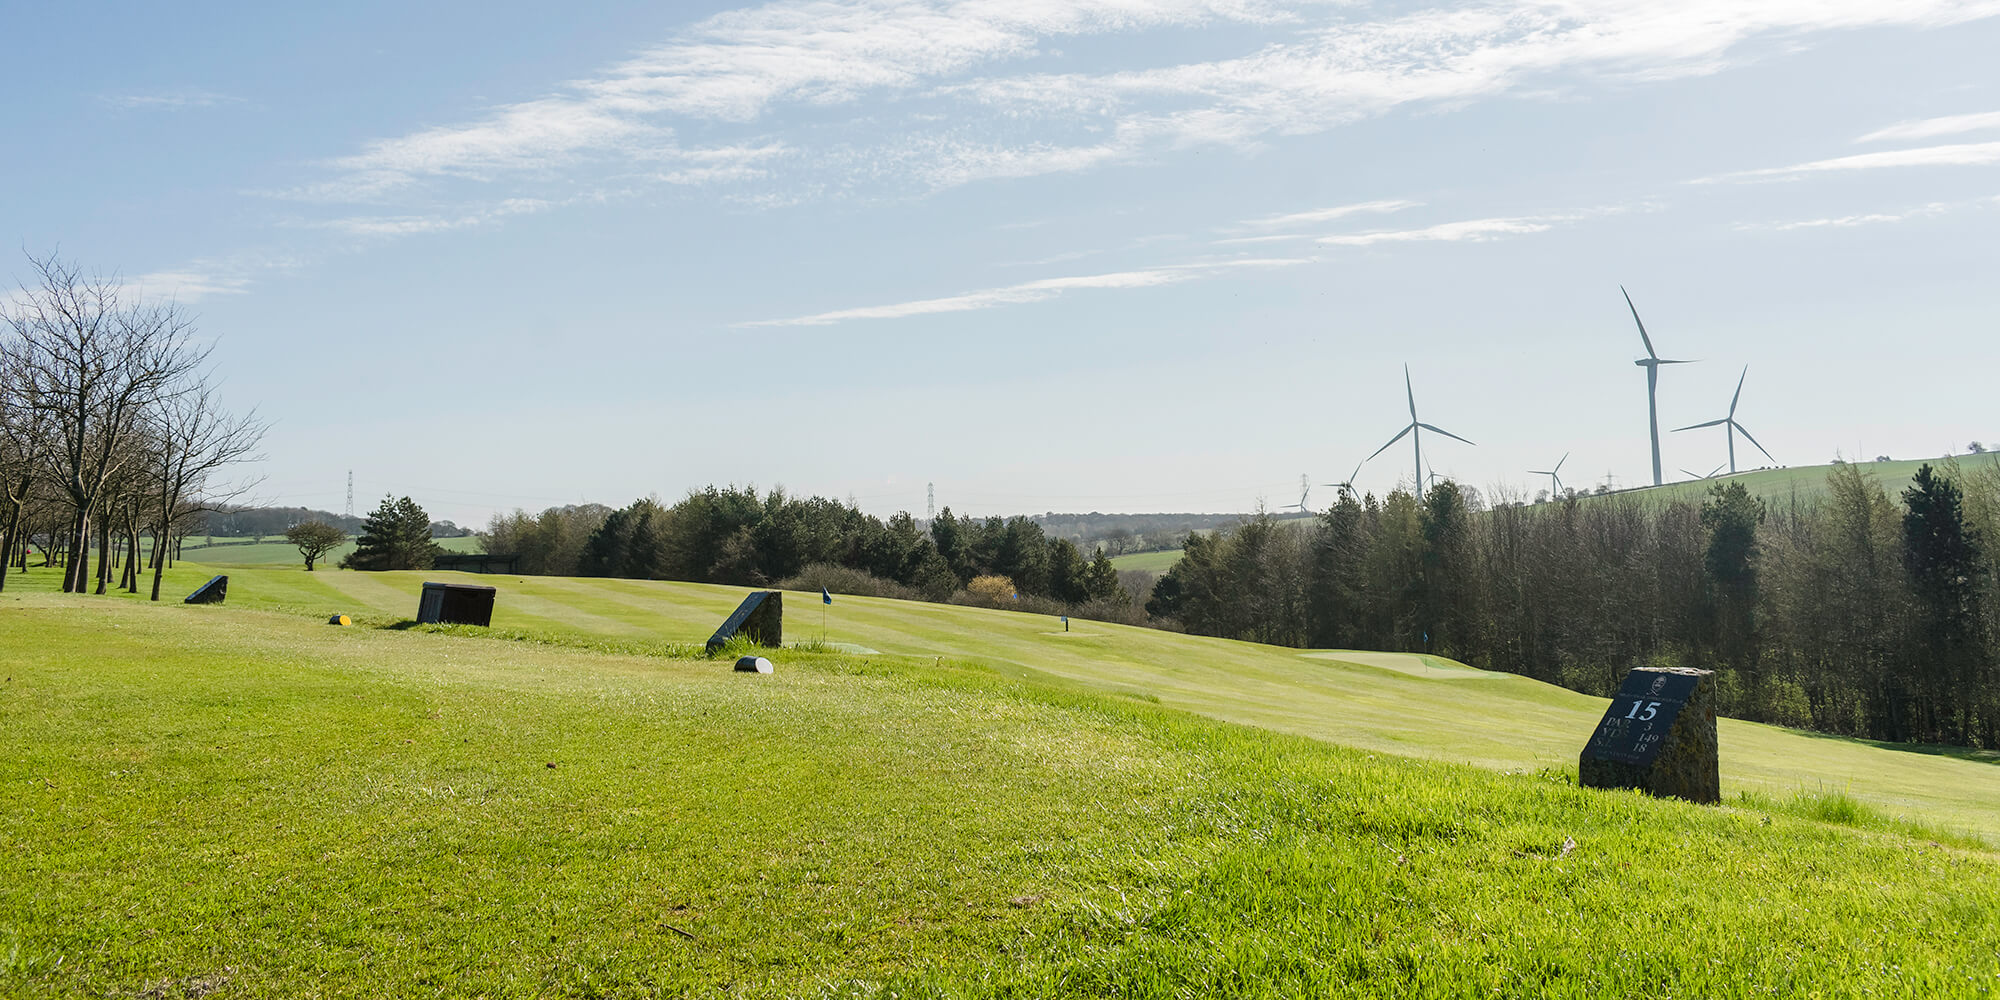
Hole 15
Hole Description
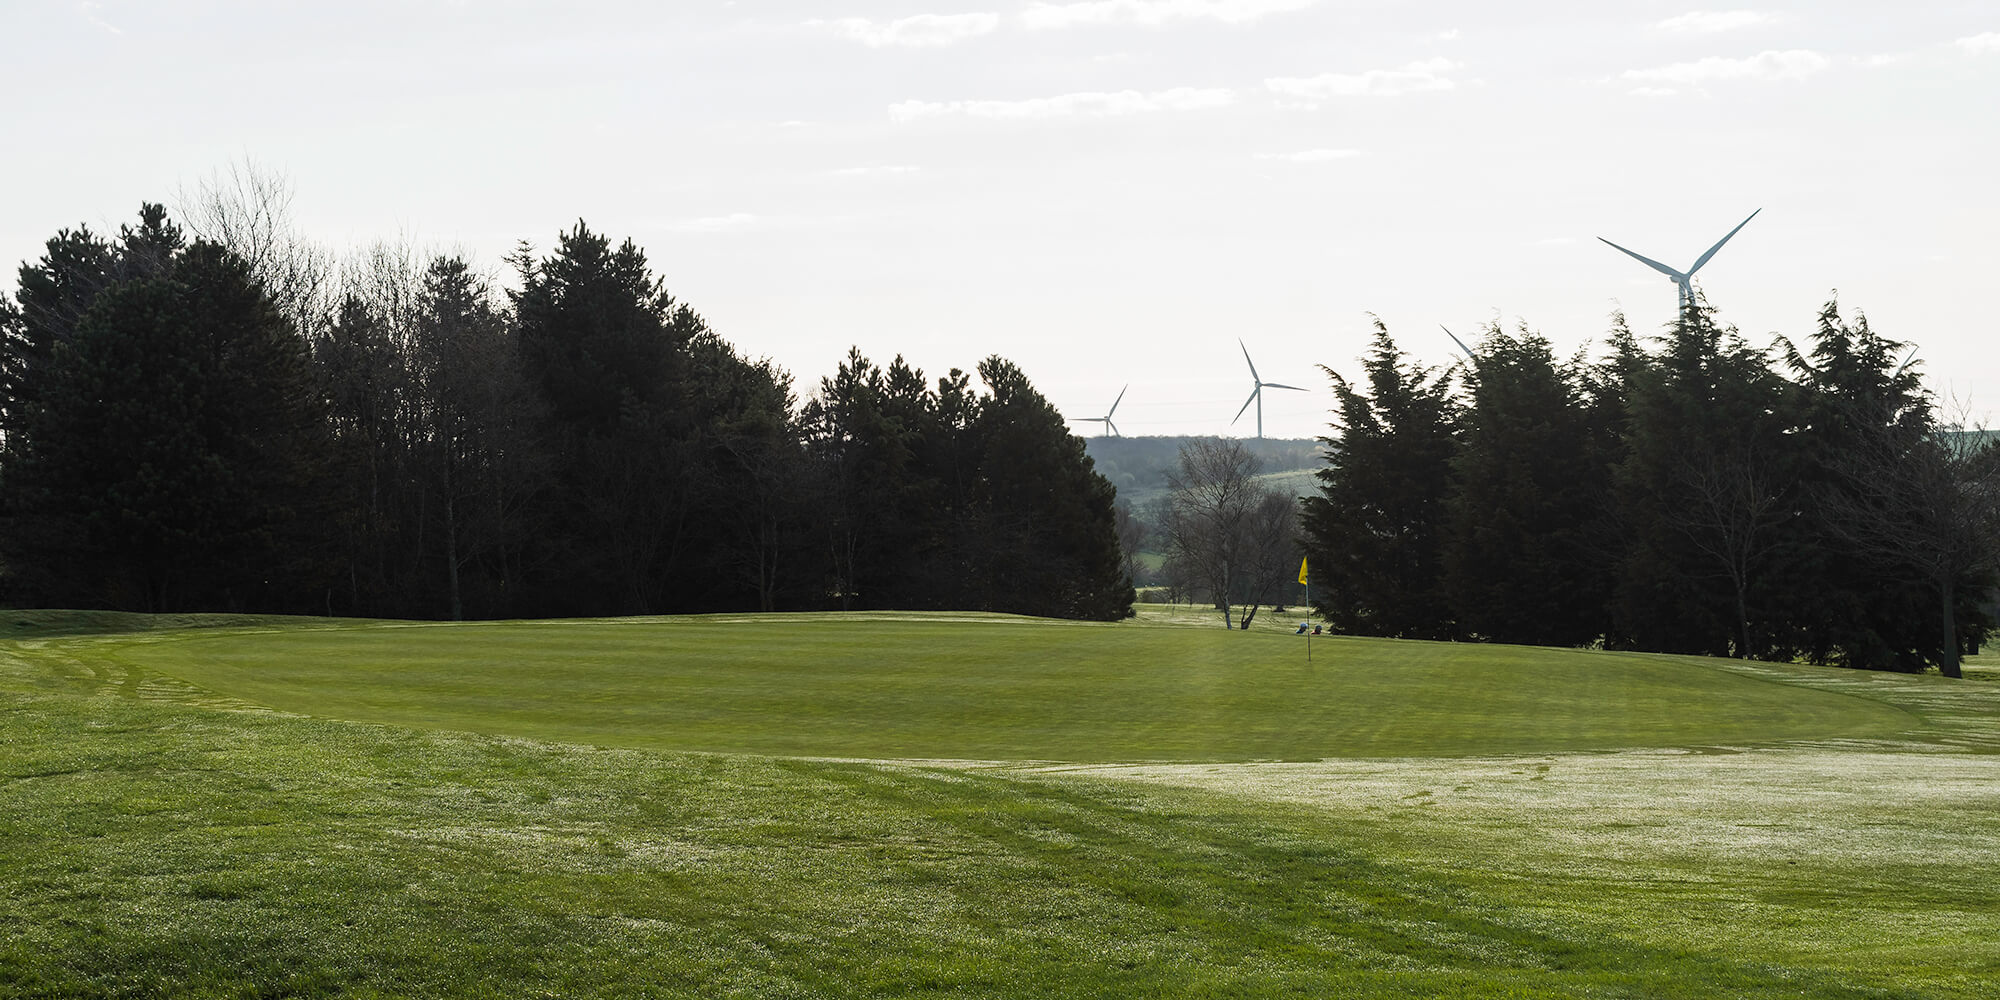
On first look its a fairly straight forward Par 3 , but any loose shots will be punished by the 3 bunkers to the side of the green. The wind and flag positions can significantly alter the difficulty of the hole. Scores above par are regularly returned.
Pro's tip
The Professional and Head Greenkeeper agree! A dangerous Par 3- forget about the pin, be content to hit the centre of the green.
HOLE SPONSORED BY: FASTCLAD NE
Hole 16
Hole Description
Another difficult tee shot with the fairway running left to right. Trees line the fairway on both sides, so a good tee shot is required to set up your approach.
Play your 2nd into a large green that slopes from left to right, but watch out for the bunkers to the front left.
Pro's tip
Missing the fairway by just a small amount can be disastrous. Keep your drive slightly left of centre and you will be in great shape. Favour the right side of the green to have an uphill putt.
HOLE SPONSORED BY: MGL
Hole 17
Hole Description
A long straight Par 4 with out of bounds all up the right and trouble to the left. A straight tee shot will set you up for your approach into the 2 tier green that is very well protected by 3 bunkers.
Pro's tip
The second shot uphill is the key. With your weight slightly favouring your back foot, take possibly two extra clubs to get on the top shelf of the green where the pin is invariably placed.
HOLE SPONSORSHIP AVAILABLE
Hole 18
Hole Description
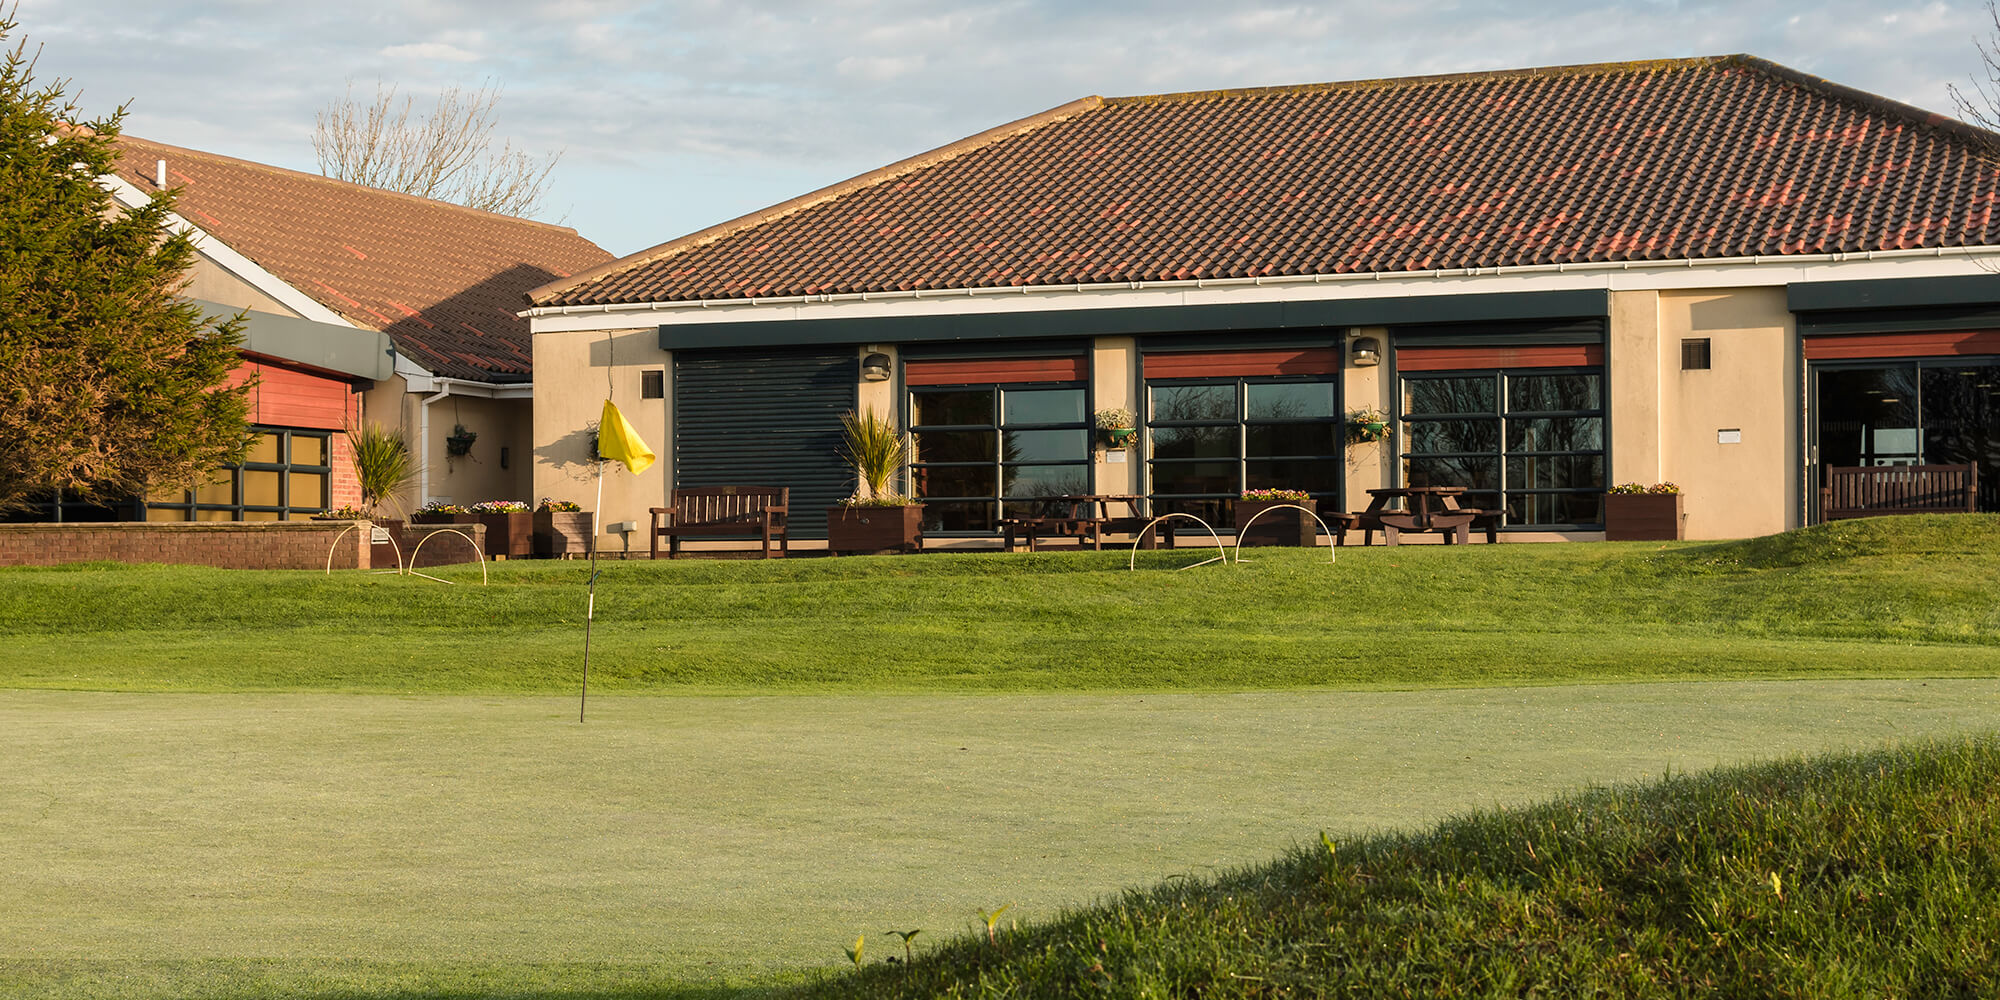
A difficult hole to finish with. A slight dog leg right with out of bounds to contend with. Position yourself in the fairway to have a chance of reaching the green. A bunker will catch anything short and left. Put it into the heart of the green and putt for glory in front of the clubhouse.
Pro's tip
Don’t be too greedy off the tee or over ambitious with your second shot. For all but the best, your second shot to the narrow green alongside the clubhouse is, long and intimidating with the clubhouse patio out of bounds on the right, and a line of white beam and cherry trees and a steep faced bunker on the left. A par or even a Bogey lifts the spirit and leaves you eager for your next round at Houghton-le-Spring.
HOLE SPONSORED BY: ANDY’S MAN CLUB
![]()